When it comes to managing your financial operations, there’s no doubt a lot on your plate. That’s why we want to share our top tips to quickly help you get more control, efficiency, and visibility into your spend and expense management.
BILL Spend & Expense users reported saving an average of 12 hours and $10,630 monthly based on a March 2022 survey of 127 users. This article aims to quickly get you up and running, learn about valuable features, and customize how you use the platform for your specific needs.
So, let’s start with the 101 on BILL Spend & Expense. Then, we’ll dig into more advanced tips and tricks to help you budget proactively, get real-time spend visibility, and close the books faster.
The basics: Get started with BILL Spend & Expense
Start off on the right foot with these tips for getting the most out of your account.
1. Invite your team to start spending smarter
Get your team on the BILL Spend & Expense! Whether they're spending or reviewing budgets, processes work most seamlessly when everyone can access the platform. Invite your team to join and ensure budget owners are set up and up to speed on best practices.
Here’s how to add people to your account.
2. Get familiar with budgets
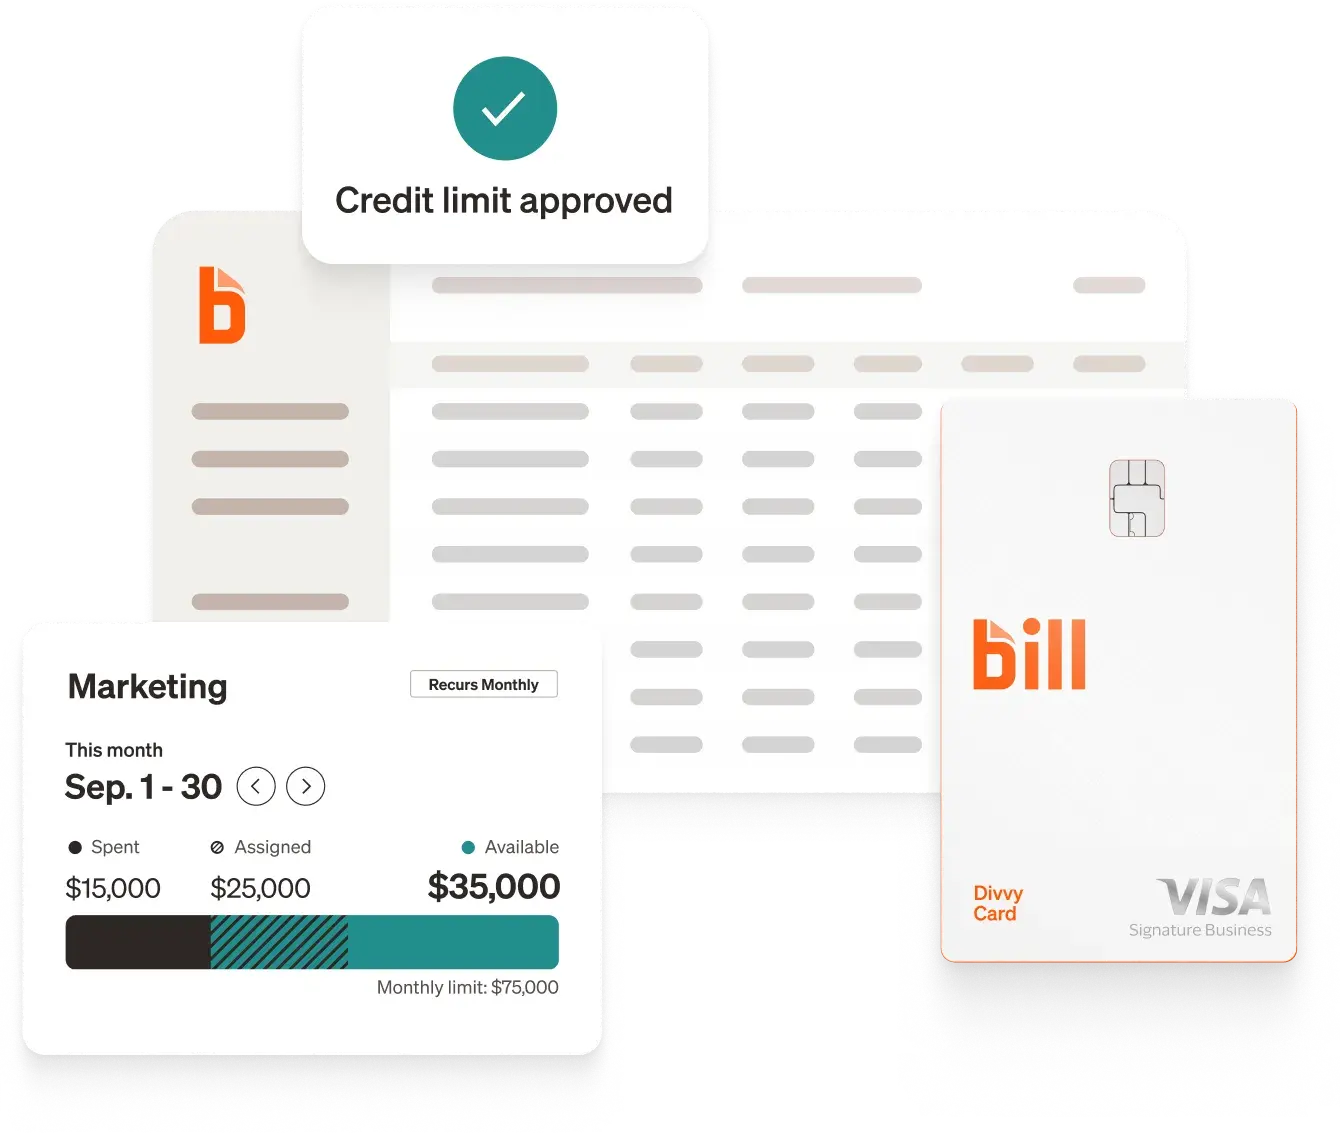
Budgets are essential to tracking spend and ensuring you don't encounter any end-of-month surprises. With BILL Spend & Expense, you can create multiple budgets to fit your company's needs and to get more visibility and control over your financial operations.
When you first sign up, all users are assigned a default budget. Get more out of the platform by separating spend by department, event, or other expense category.
Check out the budgets overview for more information.
3. Try it yourself
The best way to get the hang of BILL Spend & Expense? Make a transaction yourself! If you’ve made a recent purchase, upload the receipt to see how easy it is to review and approve.
For more information on getting started, view the BILL Spend & Expense Getting Started Checklist.
Next steps: Boost efficiency and get more visibility into spend
Already familiar with the platform? Added all your users? You're on a roll! Here are a few next-level tips and tricks as you move forward.
1. Set up integrations with your accounting software
Spend more time on higher-level strategy instead of manual receipt matching. Is your accounting software synced to your account? If so, transactions can automatically sync every 24 hours.
Here’s how to sync transactions to your accounting integration. If your accounting software doesn't integrate, check out our reformatter for easier uploading.
2. Get up and running with the BILL Spend & Expense app
We hate to brag, but our app is incredible and enables you to manage the entire spend lifecycle in one place. Use it to upload and track receipts with ease. In a hurry? Snap a photo and upload it later. No more waiting until the end of the month to find that one expense receipt. Stay organized more easily with the app.
Download the BILL Spend & Expense app.
3. Empower your team with roles and budget owners
Roles determine the actions users can perform within a budget. In BILL Spend & Expense, there are four primary ones: admins, auditors, bookkeepers, and members. However, any user—regardless of their role—can be assigned as a budget owner or budget member. Budget owners can assign funds to budget members, giving them more visibility and control over their group’s spending.
Get all the details on how to use user roles and permissions.
Advanced tips: Access more credit and customize control
If you're confident using the tips and tricks above, you're you’re well on your way to mastering BILL Spend & Expense. Here are a few more valuable tips and tricks.
1. Increase your credit limit
Looking for a larger credit limit? Request an increase by sending your latest financial statements, including your balance sheet and profit and loss (P&L) statement. These documents give our underwriters a more comprehensive view of your company's financial position.
Learn more about how to increase your credit limit.
2. Take advantage of merchant controls
Set restrictions on spending based on merchant category codes (MCC). Preemptively select which categories are completely blocked from spending or only allow spending in specific categories, giving you complete control over every purchase. No surprises here.
Get more info on how to set up merchant controls.
3. Assign funds to budget members
When a budget member is first assigned funds, a virtual card is automatically generated to enable them to start spending without waiting for a physical card. Admins and budget owners can adjust funds for whatever reason. Whether the funds allocated are too high or low, you can easily make changes—whether it's for an individual or multiple budget members.
How? Here’s a step-by-step guide on how to edit funds assigned to a budget.
Get the most out of your BILL Spend & Expense account
We know you’re busy, so we want to make it as easy as possible to use all the tools and features available to streamline your financial processes. By taking advantage of roles, budget customization, merchant controls, our mobile app, and more, we aim to maximize the value of BILL to your team.
Log into your BILL account to check out these features and more. Want help getting started? Head to our Help Center to get support via live chat and phone.


